
Most tile problems start before the first box is opened
A hollow knock under the dining table. A ridge you catch with your toe in the corridor. Grout lines that drift off square by the time they reach the kitchen door. These are the complaints Malaysian homeowners raise months after a renovation, and almost none of them come from the tile itself. They come from planning that was rushed, or skipped, before tiling day.
So this piece is less about which tile looks nicest and more about the job around it: measuring, preparing the base, setting out the layout and checking the result. Get those right and even a modest tile looks good for years.
Measure properly, then add a margin for cuts
Start with a simple floor plan and the real dimensions of each room, including door recesses and the bit under the staircase that everyone forgets. Large-format tiles and diagonal patterns produce more offcuts, so you will need extra beyond the bare floor area. Ask your installer how much margin they want for your layout, and buy it all from the same batch. Shade can vary between production runs, and a box bought six months later rarely matches perfectly.
Some suppliers fold this stage into their service. One example is a tile supplier’s five-stage installation outline, which starts with consultation and site measurement and moves through surface preparation, laying, grouting and a final inspection. Whoever does the work, that sequence is a sensible checklist to hold them to.
The floor underneath matters more than the tile
Tiles are rigid. Whatever they sit on, they will copy. A screed with dips or humps will show up as uneven joints or tiles that rock, and a base that is dusty or still damp can weaken the adhesive bond. Before anything is laid, the surface should be level, clean, sound and dry enough for the adhesive being used.
Cutting is the other part of preparation people underestimate. Crystalline silica is one of the raw materials behind ceramics, and the US workplace safety agency OSHA explains that cutting, grinding and drilling silica-bearing materials creates very fine dust that can be breathed deep into the lungs. If tiles are being cut indoors, ask for wet cutting or dust extraction, and keep children and anyone with breathing problems out of the room.
Layout, joints and the lippage question
Good tilers often dry-lay a few rows before mixing any adhesive. It shows where the cut pieces will land, so you can avoid a thin sliver along the front door or the most visible wall. With long rectangular tiles, an offset smaller than half the tile length helps, because many tiles have a slight bow in the middle that a half offset exaggerates.
That small step between two tiles is called lippage, and it is the most common thing homeowners notice on a finished floor. Leveling systems, consistent adhesive coverage and patience all reduce it. Joint width matters too. Very fine joints look seamless, but they demand flatter tiles and a flatter base.
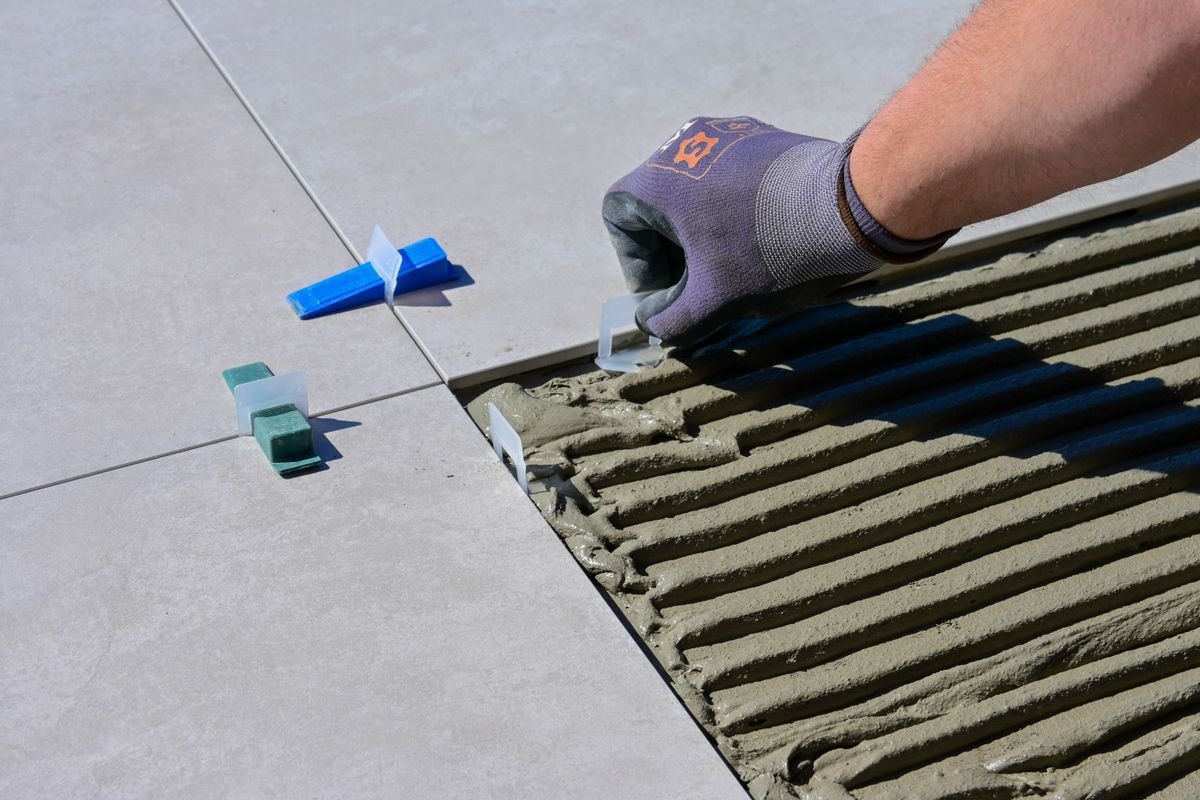
A tiling contractor shows how dry-laying a few tiles first cuts down on awkward pieces and waste.
Kitchens and marble looks need extra thought
Kitchens add grease, steam and dropped pans to the usual list. Wall tiles behind the hob and sink should have a finish that wipes clean easily, and grout there gets dirty fastest, so a slightly darker grout colour is often kinder than bright white. Floor and wall tiles that come from kitchen wall and floor collections designed to match make the layout simpler, because joint lines can be planned to line up across the backsplash and the floor.

Marble-look porcelain brings its own layout puzzle. The veining is printed across several faces, so tiles should be laid out and shuffled before fixing to avoid two identical patterns sitting side by side. Browsing Dongpeng’s marble-effect range shows how much the veins vary between designs, which is worth checking before you commit to a large feature wall.
What to check at handover
Walk the floor in socks. Tap tiles gently with a coin or the handle of a screwdriver and listen for hollow sounds, which can mean poor adhesive contact. Look along the joints from a low angle for lippage, and check that wet-area floors fall towards the drain.
Malaysia’s Construction Industry Development Board uses QLASSIC to score building workmanship against a construction industry standard that sets out workmanship requirements for different parts of a building. You do not need a formal score for a home renovation, but the idea is useful: agree what “finished” means with your contractor before work starts, not after the last tile is down.